IP Rated LED Profile: IP65 vs IP66 vs IP67 Explained
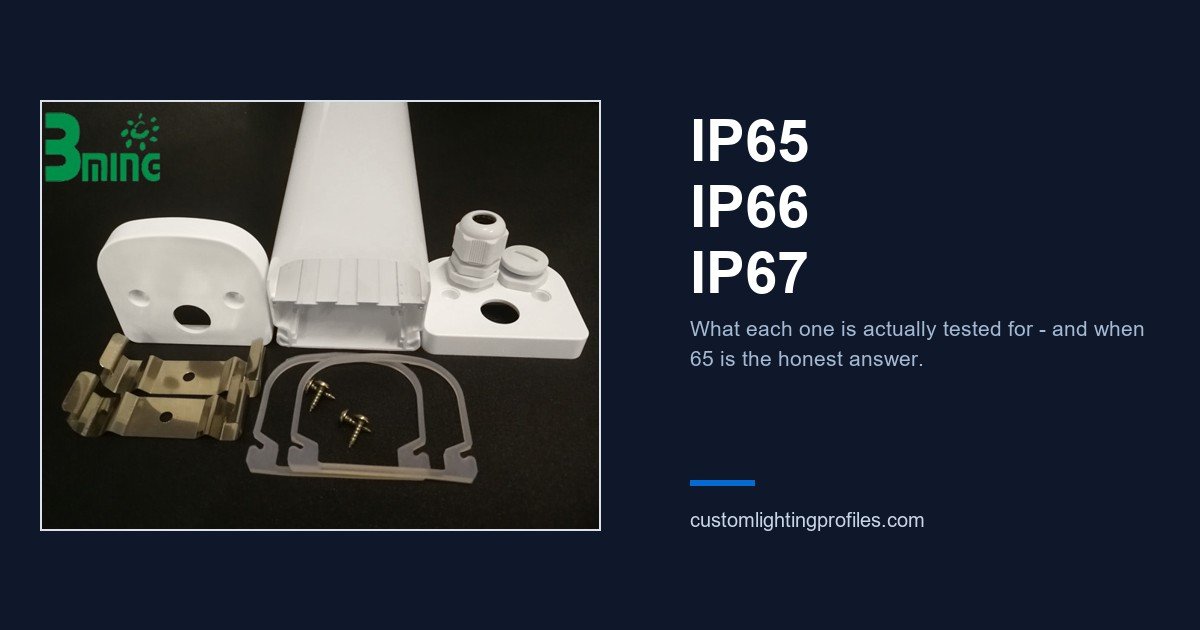
Abstract: “IP65” appears on almost every linear fixture datasheet and means almost nothing without the detail behind it. Reading an IP rated LED profile code properly starts with the two digits, and IP65, IP66 and IP67 map onto different installation environments rather than onto a quality ladder. The failures happen at three places: the diffuser-to-housing joint, the end cap and gland, and the pressure differential nobody designs for. The article closes with seven RFQ clauses and a candid look at when IP65 is the honest answer and IP67 is overselling.
Spec sheets say “IP65”. Purchase orders say “IP65”. Then the fixtures arrive at a car wash, a food plant or a coastal walkway and the failures start, usually at exactly the same three places, none of which is the extruded housing.
An IP rating is a test result, not a property of a material. Two housings made of the same extrusion can come out of testing with different codes.
Read the code first: first digit vs second digit
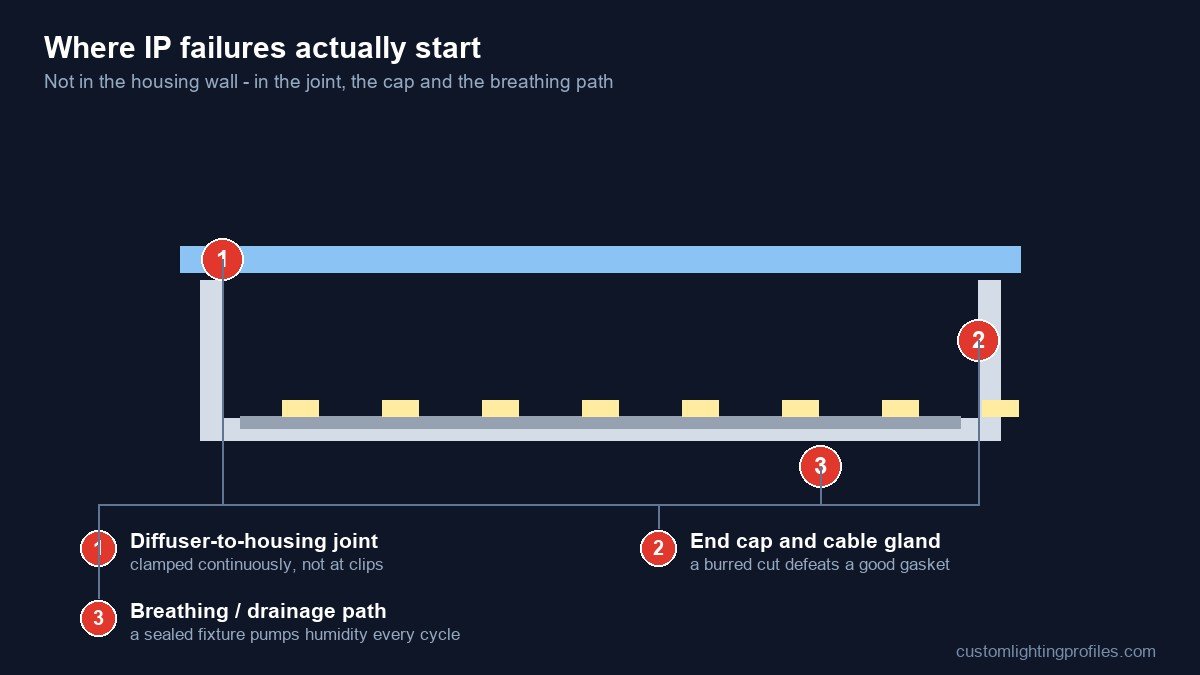
IEC 60529 defines the enclosure code as two digits plus optional letters. Almost everything relevant to lighting is in those two digits:
- First digit: solids (0–6). 5 means dust-protected rather than dust-tight: ingress is not entirely prevented, but enough is excluded that the equipment still operates safely. 6 means dust-tight, tested with talcum powder under vacuum.
- Second digit: water (0–9). 5 means water jets from a 6.3 mm nozzle, 6 means powerful jets from a 12.5 mm nozzle, 7 means temporary immersion to a stated depth and duration.
Two traps follow from this. The first: IP67 does not automatically include IP66 protection. The standards do not cascade, so a housing that passes immersion can still fail powerful jetting, because the failure modes differ. If you need both, you specify both. The second: the water temperature, duration, distance and whether the enclosure is energised during the test all belong to the spec. Two laboratories can reach different conclusions honestly.
IP65, IP66 and IP67 side by side
| Rating | Water test in plain terms | Realistic installation | Usually sufficient for |
|---|---|---|---|
| IP65 | Low-pressure jet from any direction | Covered outdoor soffits, canopies, sheltered industrial aisles | Most architectural and retail linear runs |
| IP66 | Powerful jet, 12.5 mm nozzle | Wash-down areas, food processing, marine decks, exposed facades | Anything regularly hosed or storm-driven |
| IP67 | Temporary immersion, stated depth/time | Below-grade parking, tunnel wash equipment, flood-prone locations | Genuine immersion risk only |
Treating this table as a quality ladder is the expensive misunderstanding. The three codes are three different tests for three different environments, and specifying IP67 where IP65 is correct usually buys a worse product: thicker sections, heavier end-cap hardware, more thermal insulation around the board, and a higher chance that whatever you sealed in stays sealed in, condensation included.
The three points where IP fixtures fail
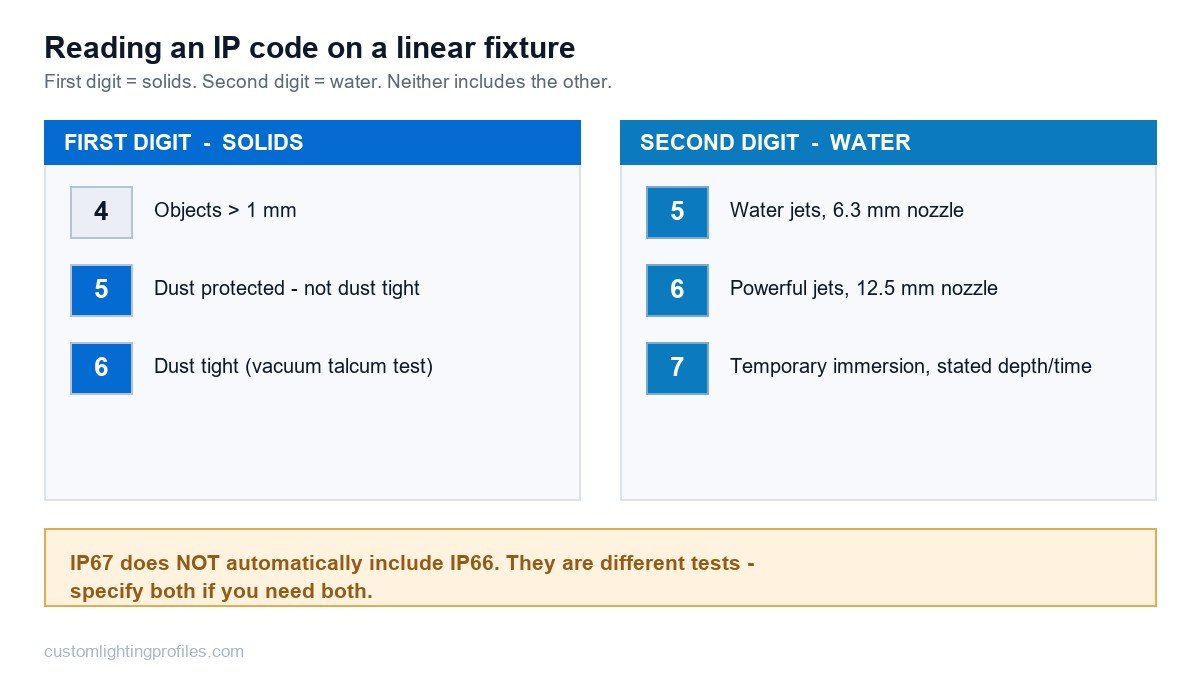
1. The diffuser-to-housing joint. This is where most IP failures originate. A co-extruded gasket channel solves half the problem: the other half is whether the diffuser can move. Snap-fit covers that walk out over thermal cycles open a gap at exactly one place, usually the joint between two cut lengths. Ask two questions: what holds the cover against the seals along the *entire* length, and what stops it shrinking away from the end cap? Our tri-proof light housing kits are built around continuous clamping rather than intermittent clips for this reason.
2. End caps and cable glands. Easy to over-spec on paper and easy to botch on site. A well-machined end cap with a compression seal only works if the profile’s cut length and squareness are held; a burred, out-of-square cut defeats even a good gasket. This is one of the reasons a drawing should state cut length tolerance and end finish explicitly (see what information belongs in a lighting profile drawing). Make sure gland size matches cable diameter, not ducting diameter, and that the gland has somewhere to seal against.
3. Pressure differential and breathing. Few drawings cover this one. A sealed fixture heats up in operation and cools at night; each cycle pumps air and humidity through whatever path exists. Over months this loads the interior with moisture and produces exactly the failure that looks like a bad seal but is really condensation. Mitigations, in rough order of practicality: a breathable vent / drain element at the low point, designing so that any leak path drains rather than pools, and accepting that *some* breathing is healthier than a perfect hermetic seal that traps moisture.
Material choice behind the gasket
The code tells you nothing about what the assembly is made of, and that determines whether it still passes at year three.
- Cover material. PC is the default where impact resistance matters and the environment runs hot; PMMA where daylight exposure and long-term colour stability dominate. Both need the grade named, and both have different wall-thickness requirements for the same span. Our PC lighting profile design guide goes deeper on sections and spans. Note also ageing: a cover that yellows loses transmission and the whole assembly becomes a service call. The mechanisms are set out in why LED diffusers turn yellow.
- Seal material. Silicone handles temperature range better and recovers well; EPDM is economical and resistant to many chemicals but has its own compatibility limits; co-extruded seals integrated into the profile remove an assembly step and a leak path. Whichever you choose, specify hardness (Shore A), compression set after ageing, and the operating temperature range. An unspecified “rubber gasket” is how an IP65 assembly behaves like IP54 in eighteen months.
- Fasteners and end-cap hardware. Stainless where the location is coastal or chemical. A stainless profile with plated fasteners is a corrosion cell waiting for humidity.
Seven clauses for your RFQ
- Name the target rating together with the standard: “IP66 to IEC 60529”, and add IP67 as well if immersion is genuinely possible.
- State the installation environment, not just the code: wash-down frequency, chemicals, salt exposure, ambient range, whether the fixture is hosed while energised.
- Define the sealing method: co-extruded seal, separate gasket profile, or both, with material and Shore hardness.
- Specify cut length tolerance and end finish, because the end cap is where leaks start.
- Require a test report from an accredited lab for the complete assembly (housing, cover, end caps, glands), not for the extrusion alone.
- Include the joint between two profile lengths if your run exceeds one piece; that joint needs the same rating as the rest.
- Ask what happens on reassembly. If the fixture can be opened for maintenance, define how many open/close cycles the seal survives and whether it must be replaced.
What IP65 is actually for
Most architectural linear lighting does not need IP67. Sheltered soffits, retail shelving runs, office troffers and covered industrial aisles live perfectly well at IP65, and specifying less sealing there gives you thinner walls, better thermal behaviour, a lighter fixture and lower unit cost.
Reserve IP66 for genuine wash-down or storm-exposed applications, and IP67 for real immersion risk. Anything above that is usually either a regulatory requirement or marketing.
Turning this into a specification you can quote
Bring us the environment rather than just the code. The four facts that produce an accurate quote fastest are: installation location and exposure, cleaning/hosing method and frequency, expected enclosure temperature range, and target lifetime. With those we can recommend whether you need a tri-proof housing kit, a sealed troffer frame assembly, or a straightforward IP65 cover arrangement, and quote the whole assembly including seals, glands and end caps rather than a per-metre extrusion price.
Browse the full product range, or request a quote with your drawing and target environment attached.
How IP is achieved on an extruded profile
An extruded profile does not carry an IP rating. The luminaire does. The profile contributes to it through four interfaces, and every one of them is a design decision on the drawing rather than a property of the material.
| Interface | What achieves the seal | What to specify |
|---|---|---|
| Cover-to-body joint | The snap or slide geometry, plus the gasket channel if there is one. | Geometry of the channel, gasket material and cross-section, and the compression the design is meant to achieve. |
| End caps | Cap fit, adhesive or gasket, and cable entry. | Cap material, fixing method, and how the cable entry is sealed. End caps leak more often than the body does. |
| Mounting penetrations | How the fixture is fixed to the surface, and whether the fixings pass through the sealed volume. | Fixing positions relative to the seal line, and whether a gasket or washer is required under the head. |
| Continuous length joints | How two lengths meet in a run, and how the corner is made. | Joint method for continuous runs and corners. A perfect straight section with an unsealed corner is not IP-rated. |
Four ways an IP requirement is written incorrectly
What to put on the drawing
- Target rating and the product standard it is tested against, plus who performs the test.
- Gasket channel geometry, material, hardness and compression.
- End cap specification — material, fixing and cable-entry sealing.
- Fixing positions, with the seal line marked.
- Corner and continuous-run joint method, drawn, not described.
- Whether the profile is supplied as part of a sealed assembly or as a component — and who validates the finished product.
Related reading: industrial lighting applications, LED strip profiles, and PC lighting profiles.